Add the ‘Update Row’ Tool step to your Tool
- Creating a new Tool, then searching for the ‘Update Row’ Tool step
- Click ‘Expand’ to see the full Tool step
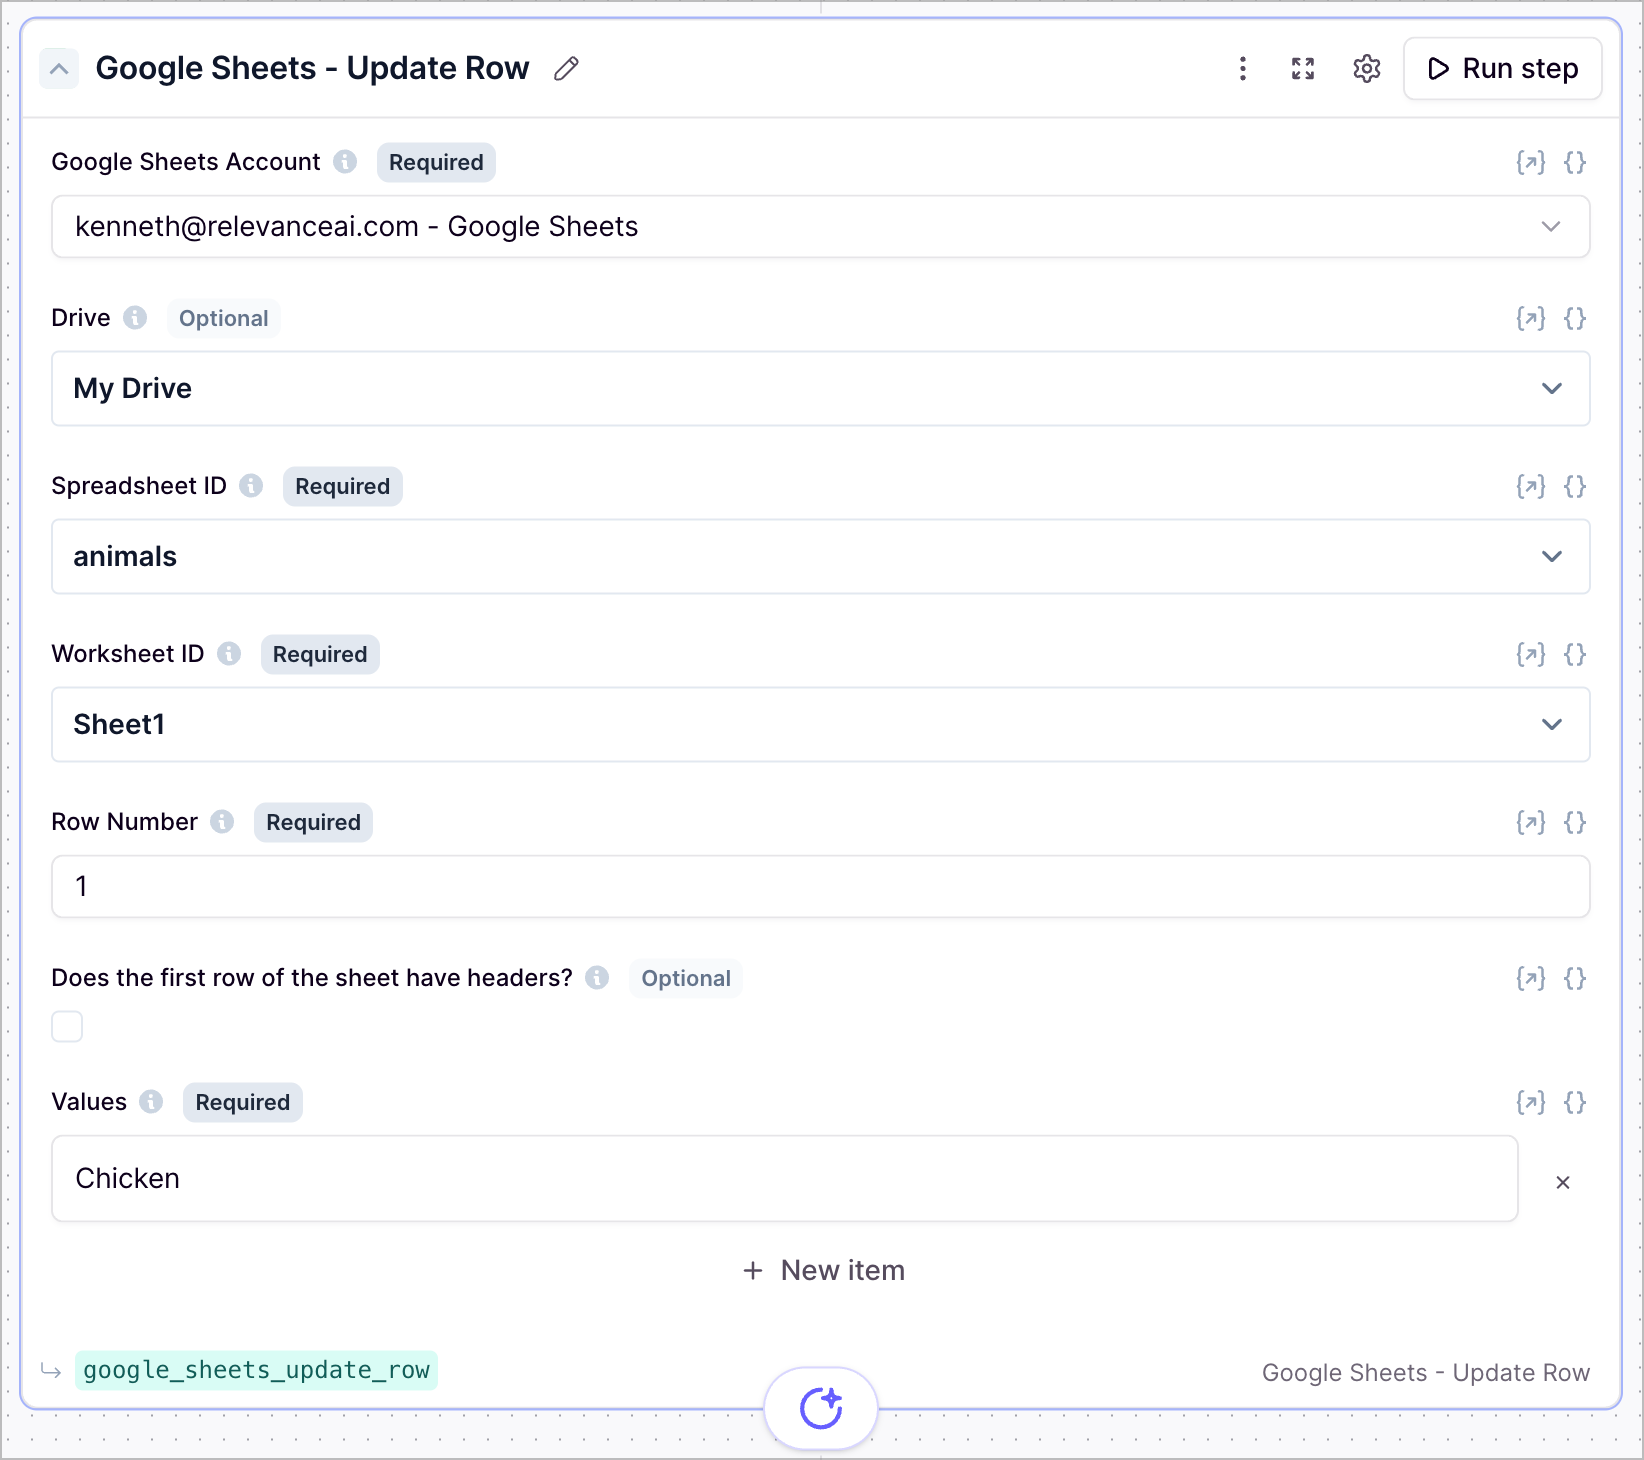
- Using the dropdown menu:
- Select the Google account you would like to use.
- Select the Drive you would like to use (defaults to “My Drive”).
- Select the Spreadsheet you would like to update.
- Select the worksheet you would like to update.
- Select the row number you would like to update.
- Select whether the first row has headers.
- Enter the values you would like to update.
- Click ‘Run step’ to test out the Tool
Using in an Agent
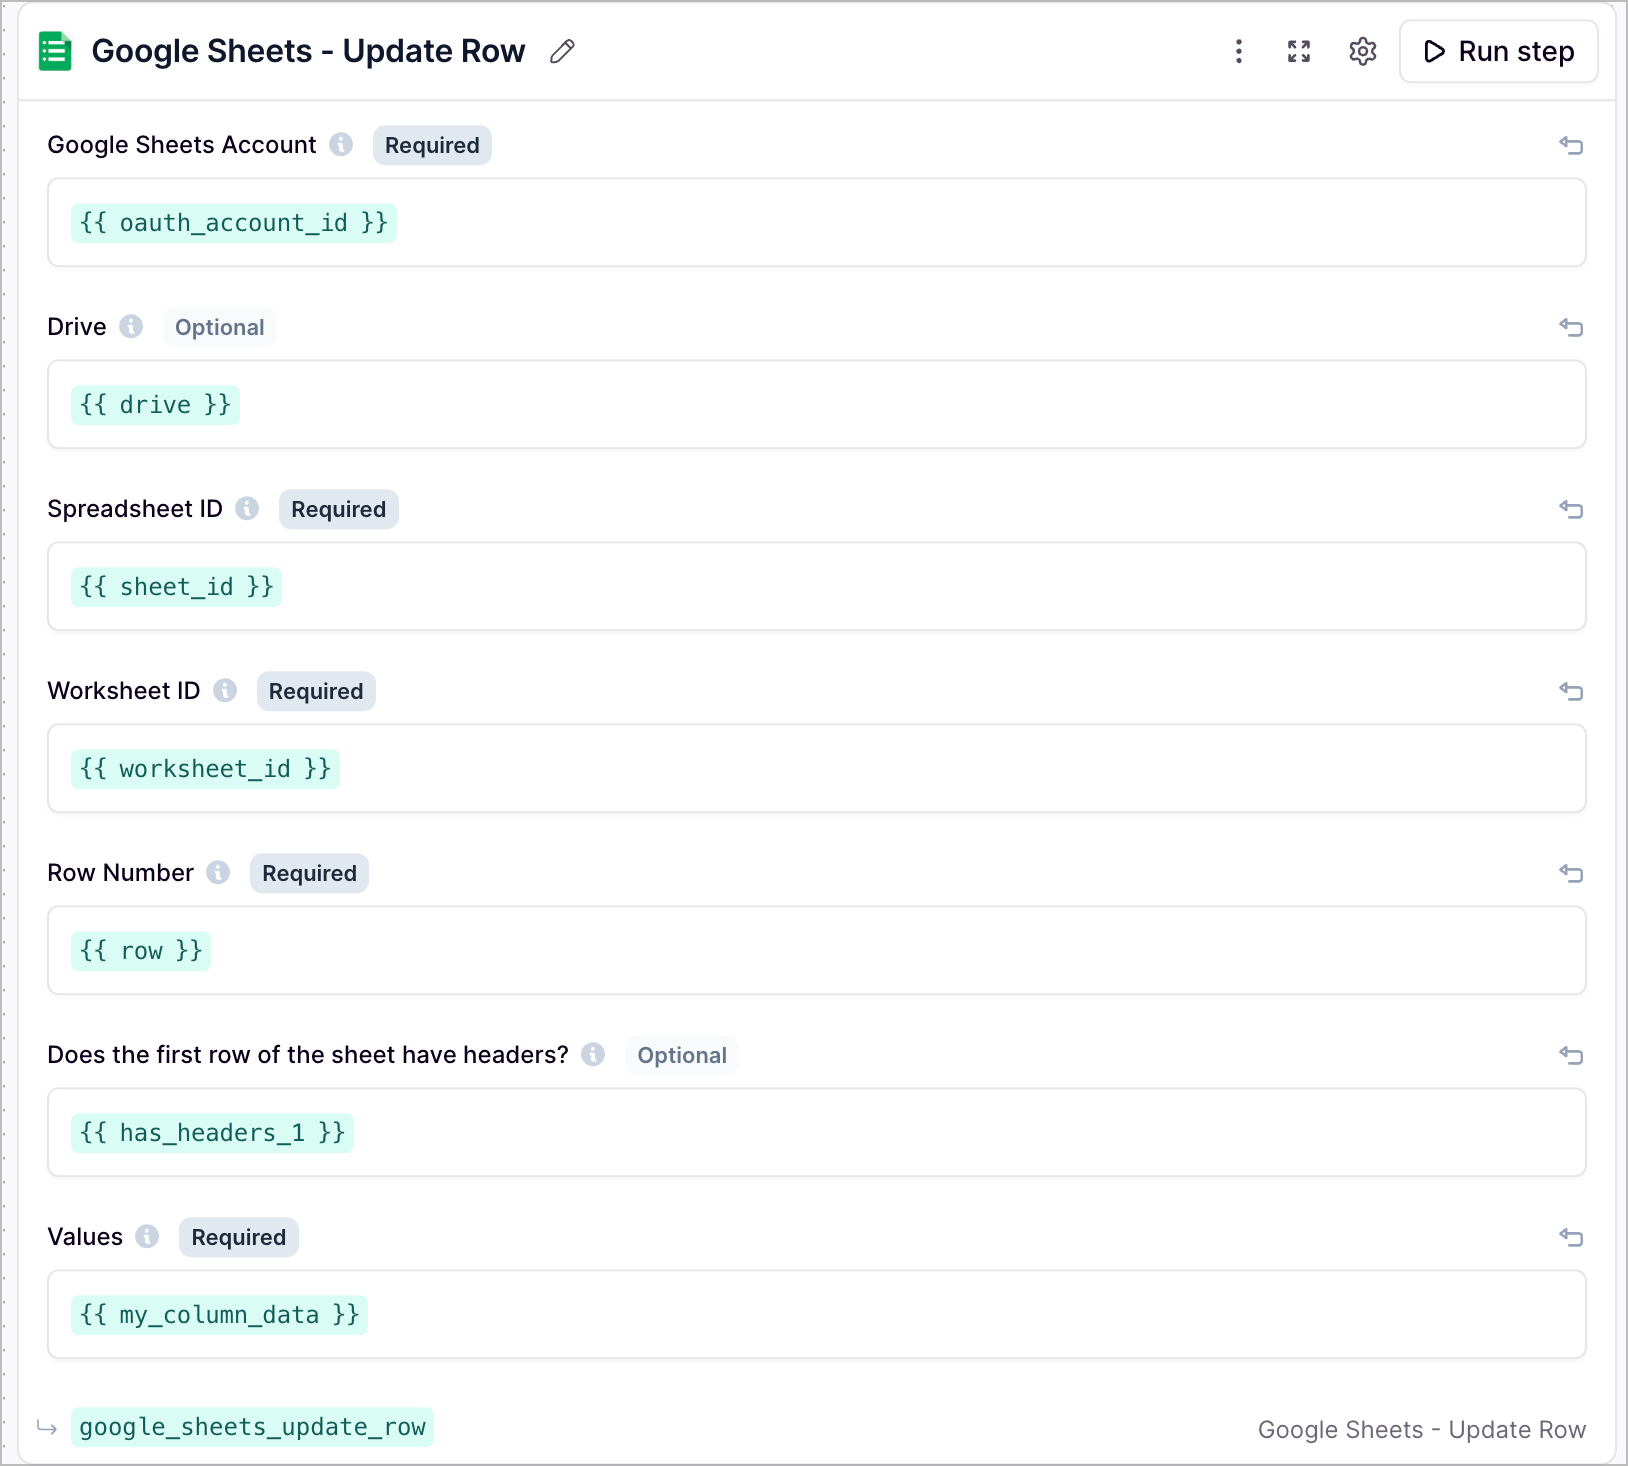
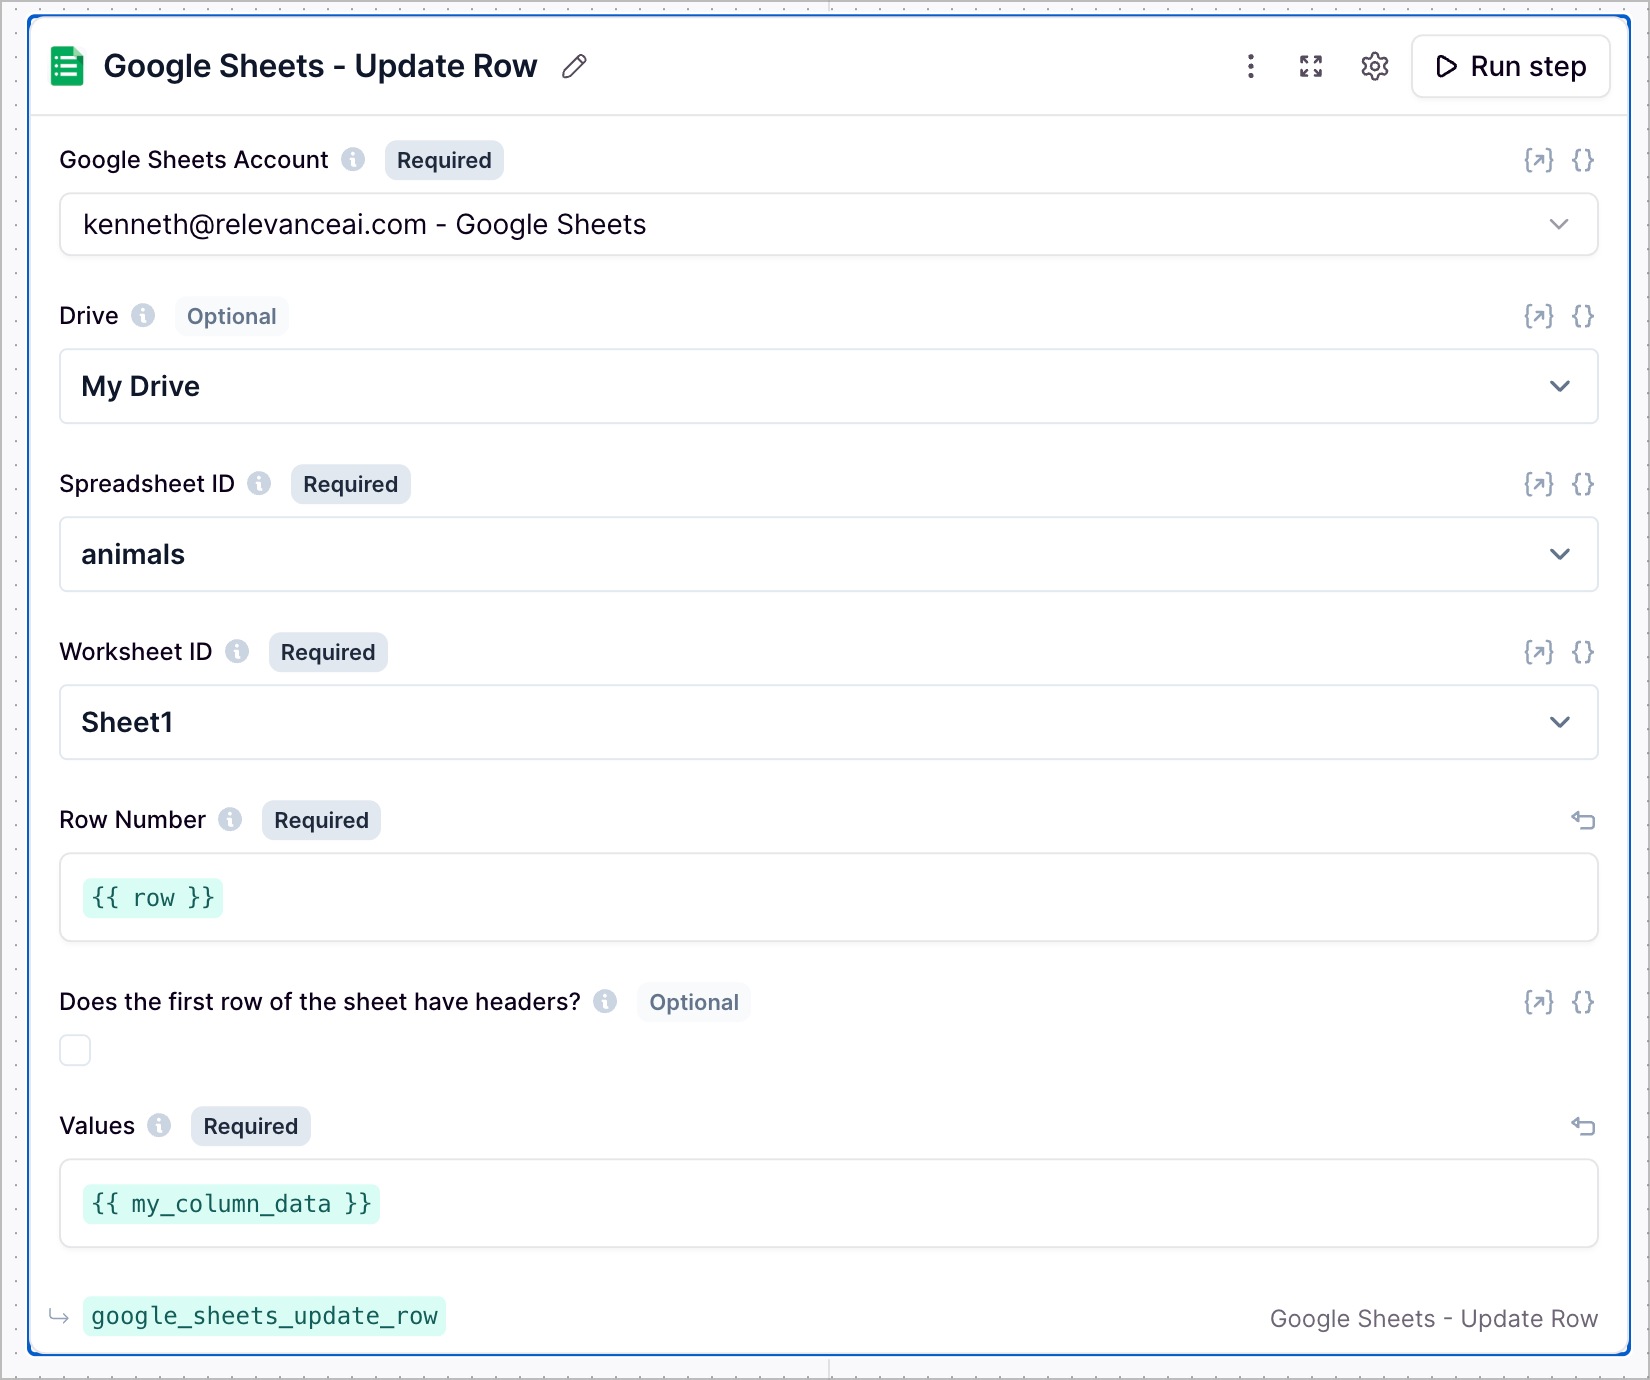
There are 3 ways to configure the tool step when using in an agentParameters
The Drive you want to use. By default, the tool uses “My Drive”.
To get the spreadsheet ID, navigate to your Google Sheet and copy the ID from the URL (the long string between
/d/ and /edit).
To get the worksheet ID, open the specific worksheet you want to use and copy the ID from the URL (appears after
#gid=).
The row number you want to update.
When this option is checked, each column will appear as a separate input field in the tool step for you to fill in. This option will be ignored when using dynamic input fields.
The data being inserted will need to be in an array format.
Example:
["John Doe", "john.doe@example.com", "123 Main St"]Frequently asked questions (FAQs)
What is the difference between using the green input variables and the dropdown menu?
What is the difference between using the green input variables and the dropdown menu?
Can I use a mix of both dropdown menu and green input variables?
Can I use a mix of both dropdown menu and green input variables?


